A leaking shower rarely announces itself with a flood. More often it starts quietly: a musty smell that won't go away, a patch of paint that starts to bubble, a tile that sounds hollow when you tap it. Because the real damage happens behind the tiles, many Gold Coast homeowners don't realise there's a problem until it has spread into walls, floors and cabinetry.
Here's how to spot the early warning signs of a leaking shower, why a quick fix from the hardware store rarely solves it, and what a proper repair actually involves.
Why Showers Leak Behind the Tiles
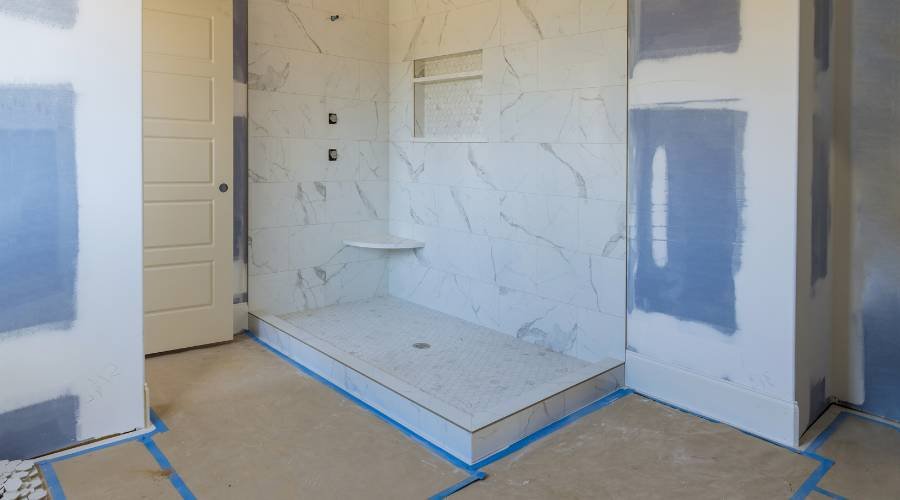
Tiles and grout look waterproof, but they aren't the part that keeps water out of your walls and floors. That job belongs to the waterproofing membrane, a liquid or sheet-based protective layer applied before any tiles go down. It covers the shower walls and floor, bathtub surrounds and vanity splashbacks, and in some homes, such as upstairs bathrooms or those with a timber subfloor, the entire bathroom floor.
When that membrane is applied correctly, it sits quietly behind your tiles for years. With proper installation, waterproofing can last 10 years or more. When it's been rushed, applied too thinly, damaged or never installed properly in the first place, water finds its way through the grout and into the structure behind it.

Six Warning Signs Your Shower Is Leaking
Most leaks show up somewhere other than the shower itself. Keep an eye out for these signs, especially in older Gold Coast homes or bathrooms that haven't been renovated in a long time.
- A musty smell that won't clear. Persistent dampness behind the tiles often shows up as a smell before you can see anything.
- Mould that keeps coming back. Mould around the shower or on nearby walls that returns soon after cleaning can be a sign of moisture trapped behind the surface.
- Peeling or bubbling paint. Paint lifting on the walls next to or behind the shower is a common sign of water travelling through the wall.
- Swollen skirting boards or cabinetry. Timber skirting, door frames and vanity bases near the shower will swell or soften when they're absorbing water.
- Water pooling outside the shower. If water regularly ends up where it shouldn't, the floor falls or the waterproofing may not be doing their job.
- Cracked or loose tiles. Tiles that crack, lift or sound hollow when tapped can point to moisture getting underneath them.
One sign on its own doesn't always mean the waterproofing has failed, but if you're noticing two or three of these, it's worth having the bathroom looked at sooner rather than later. Water damage rarely stays in one spot.
Why a Bead of Silicone Won't Fix It
It's tempting to reach for a tube of sealant, regrout the shower or paint over the damaged wall and hope for the best. The problem is that these fixes only treat the surface. If the membrane behind the tiles has failed, water will keep getting through, and the damage underneath keeps growing while the bathroom looks fine on the outside.
Simply applying sealants or paint over a leak will not fix the underlying problem. Waterproofing membranes are designed to be tiled over, not painted, and painting over a membrane compromises its integrity.

A note on insurance
Most home insurance policies do not cover waterproofing failures caused by poor workmanship or improper installation. That's one more reason to have waterproofing done properly the first time, and to keep the paperwork that proves it.
What a Proper Repair Involves
When waterproofing has failed, the only lasting fix is to remove the affected tiles, address the damage and re-waterproof the area before it's retiled. It's more involved than a weekend patch-up, but it's the only way to stop the leak at its source. A proper repair typically follows these steps:
- Remove the affected area. Tiles and any damaged materials are taken back to a sound surface.
- Prepare the surface. Surfaces need to be clean, dry and dust-free, with cracks and gaps repaired before anything else goes on.
- Apply the membrane in multiple coats. Typically, two to three coats are applied, with drying time between each layer.
- Let it cure fully. The membrane must dry completely before tiling. Drying time depends on the product, temperature and humidity.
- Retile and certify. Once tiling is complete, a waterproofing certificate is issued to confirm the work complies with Australian Standards.
In a full renovation, this all happens during the tiling and waterproofing stage, which usually takes four to seven days, with membranes applied and certified before any tiles go down.
Why Certification Matters in Queensland
In Queensland, waterproofing must be carried out by a licensed professional, and work should comply with the Australian Standard for waterproofing domestic wet areas, AS 3740. Once the job is done, a waterproofing certificate is issued to verify compliance.
That certificate is more than a formality. It's often required for home insurance and strata approvals, and it gives you peace of mind that the most important layer in your bathroom has been done right. Most professional waterproofing also comes with a warranty, typically between seven and 10 years depending on the product and provider. If you're getting quotes for a repair or renovation, it's worth asking about both.
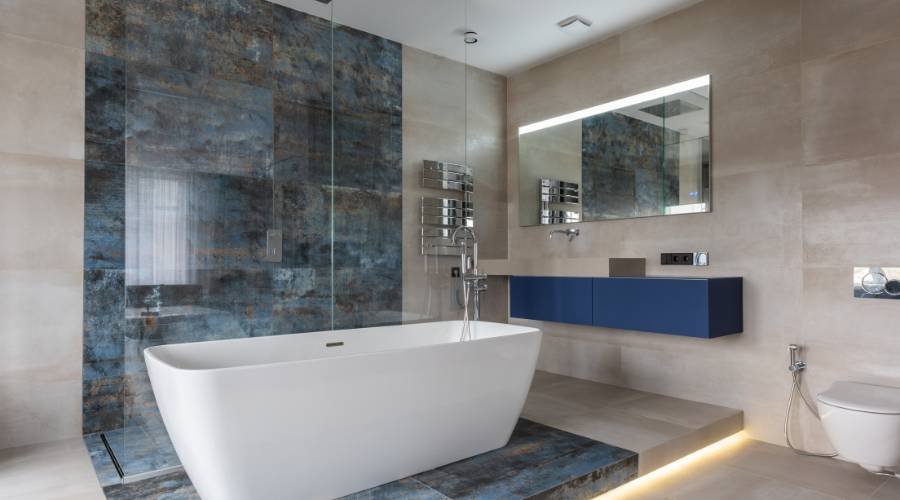
You can read more about how we approach this stage of a renovation on our bathroom waterproofing page.
Noticed a Sign or Two in Your Bathroom?
A leak behind the tiles won't fix itself, and catching it early usually means less damage to deal with. If your shower is showing any of these warning signs, or you're planning a renovation and want the waterproofing done right from the start, it's worth getting an expert opinion on what's happening behind the tiles.
Get in touch with Only Bathrooms GC to book a free consultation and find out what your bathroom needs.